The starter design has not undergone fundamental changes for decades. Its simple device and proven manufacturing technology should determine the starter's long years of proper operation. However, the service stations and the workshops specializing in their repair are overworked.
Causes of starter failures
The first cause of starter failures is their manufacturers. The pursuit of income and the struggle with competitors leads to the fact that the safety margin of starter assembly decreases. For example, plastic sun gear uses in the design of the gearbox, or smaller bearings are used. All these overload solutions cause damage.
The second factor is the operating conditions. If the car most of the time comes through the city with frequent engine runs, and still all this occurs at low temperatures, then the long life of the starter need not count.
The third is the human factor. All errors in the operation of the car and its untimely maintenance lead to a faster failure of the starter.
Typical starter problems
• worn-out bearings;
• worn-out brushes;
• manifold is oily;
• short circuit between the brush holder and the housing;
• loosened brush holder springs;
• Inter-turn circuiting or break in motor winding;
• slipping or jamming of the free-wheel clutch (bendix).
Preparation for repair
Before start repairing the starter you need to check it on a special diagnostic test bench. This will reveal both mechanical and electrical faults. As an example, the photo shows the result of the diagnostics of the starter on the test bench MS008. The graph clearly shows the current ripple on terminal 50, which indicates a fault in the starter solenoid.

As a result of the diagnosis, we found that the damage to the starter is not critical, and its repair is rational. If the diagnostics would have revealed several faults, for example, damage to the windings of the starter or rotor, this is a good reason not to repair the starter. The final repair cost will be too high. In this case, the repair will make sense if there are serviceable spare parts from a free donor.
Starter repair
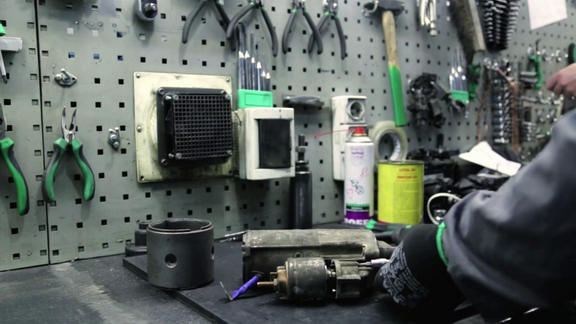
When we understand the problem, we can immediately begin to eliminate it without wasting time on a complete disassembly of the starter. First, you need to disconnect the traction relay and the electric motor. To do this, unscrew a few bolts and nuts.
Further work is more difficult. In the first stage of disassembly of the retractor relay, you need to expand the casing and then be armed with a 100-watt soldering iron to unsolder the wires that come out of the relay.
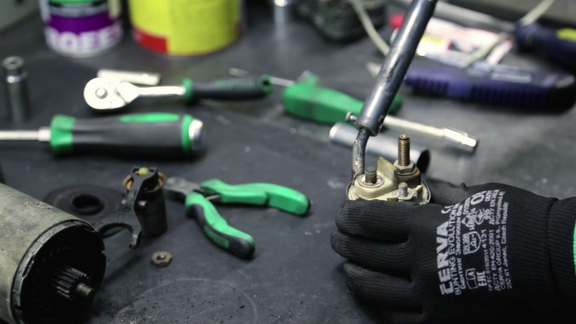
Then we separate the cover from the relay and dismantle the contact plates, which are made together with the bolts. Then we change them to new ones. Although, you can simply replace it with a new cover with contact plates. It all depends on the availability of spare parts.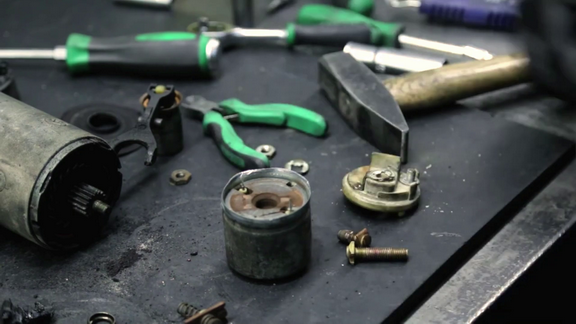
After replacing the parts, we assemble the solenoid relay in reverse order. The main thing when assembling the solenoid relay is not to make a blunder is the lubrication of the core with grease. It is contraindicated there because it can cause the core to jam in the future. Inside the solenoid relay, everything should be clean and dry.
Installation of the solenoid relay on the starter case is the final stage of repair. After the final assembly, it is necessary, to make sure that we did everything correctly. To do this, we again install the starter on the test bench and conduct a performance check.
Once we are convinced of the good condition of the starter, install it on the car and enjoy a confident start.
COMMENTS